...
| Note |
|---|
The rack mount kit only comes with newly purchased devices. If you receive a replacement device through a an RMA, please reuse your mounts rather than returning them with along with the defective unit. Additional rack mounting kits can be requested. |
...
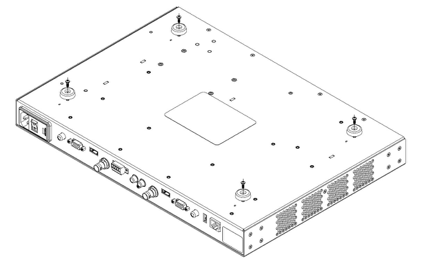
Place the capture appliance on a flat work surface with the foot assemblies facing upward.
- Remove the four plastic feet from the bottom of the unit. Each foot is secured with one screw. You will not need the screws and feet for this mounting configuration but may wish to save them.

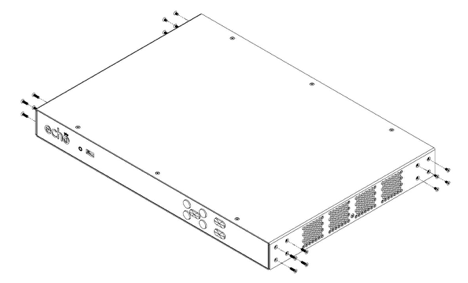
- Flip the device over and place on a flat surface facing front or rear depending on desired mounting configuration. Remove the four screws on each side of the enclosure (eight screws total). You will not need the screws for this mounting configuration but may wish to save them.
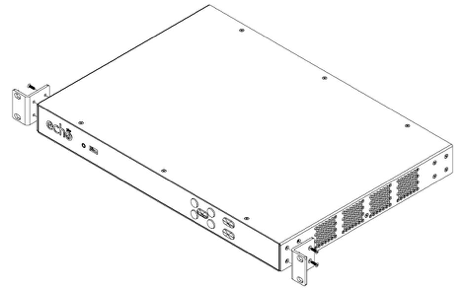
- Find the eight long screws provided in the rack mount kit. Use these screws to attach one mounting bracket to each side.
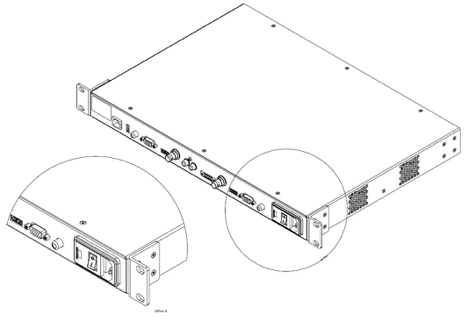
- Compare the finished capture appliance with the following two figure(s). Notice that the mounting brackets are parallel with the front/ rear panel.
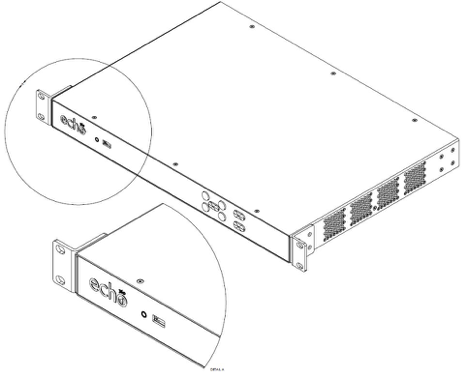
- Install the capture appliance in the A/V rack.