Make an Echo Available or Unavailable for Viewing
In this section:
Overview
You might want to make an Echo as unavailable for many reasons. For example, you might want to review it, or have a guest speaker review it, before making it viewable by students. You can make the Echo available later.
When you make an Echo unavailable, students can still see it listed on their EchoCenter pages if they view unavailable Echoes.
Best Practice: Tell Students When You Mark an Echo as Unavailable
Students may ask why an Echo is unavailable. If you announce that it is unavailable in class, you can forestall questions and speculation.
Make an Echo Unavailable
This example shows you how to make an Echo unavailable.
- Navigate to the EchoCenter page for the section.
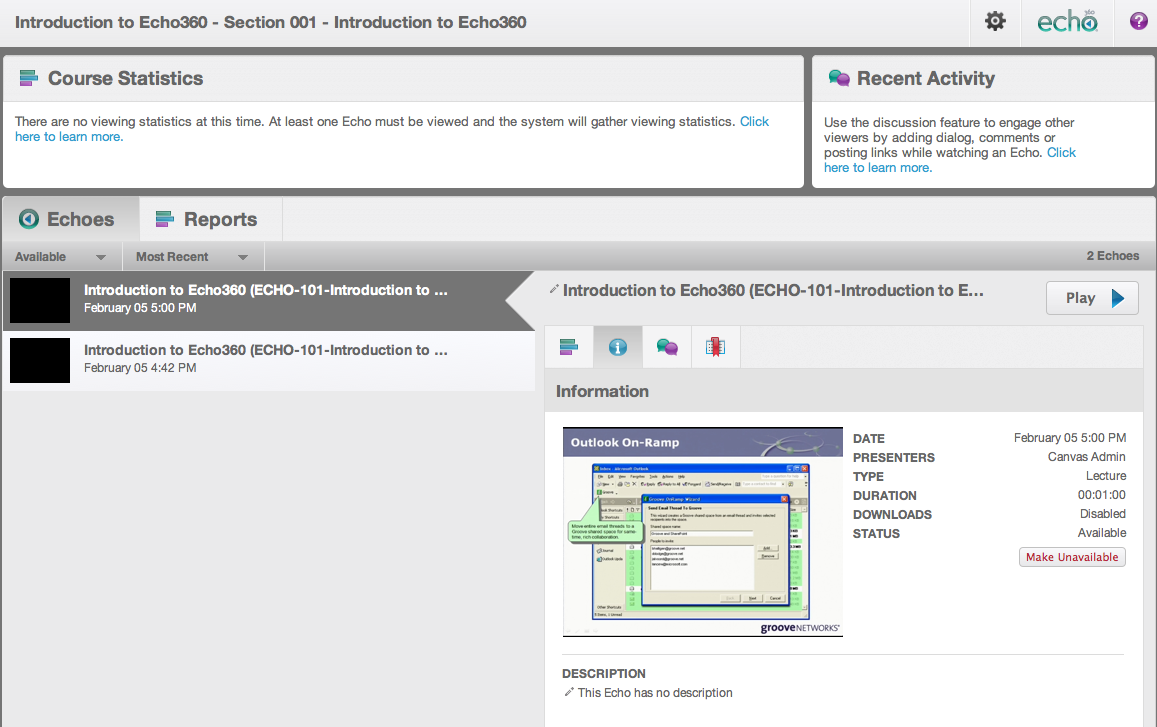
- Find the Echo you want to make unavailable.
- All Echoes for the section have the same title, the title of the section, unless you have changed it.
- Look for the date beneath the Echo.
- Click the Information tab, as shown in the figure below.
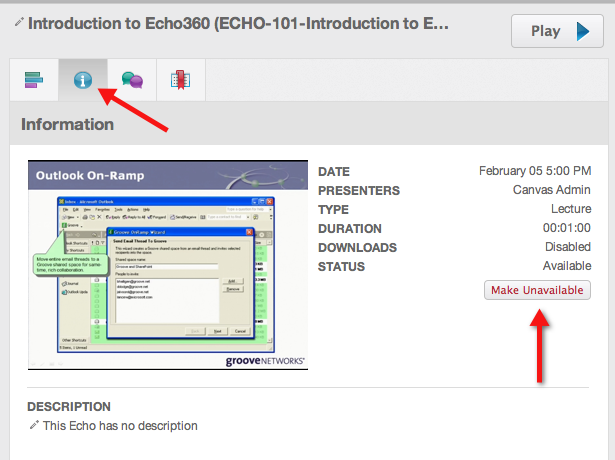
- Click Make Unavailable, as identified in the above figure.
Verify that an Echo is Unavailable
Changes to Echo availability are made as quickly as the ESS allows. It make take take several minutes or may happen immediately. Use the following steps to verify that the Echo is now marked as "unavailable" in the EchoCenter.
- If necessary, navigate to the EchoCenter page for the section.
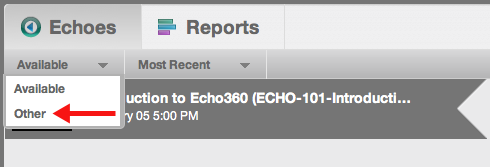
- Click the Available Echoes drop-down list and select Other, as shown in the below figure.
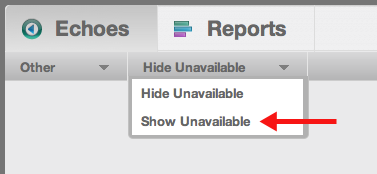
- The "Other" Echoes list may appear empty. Click the Hide Unavailable drop-down list and select Show Unavailable, as shown in the below figure.
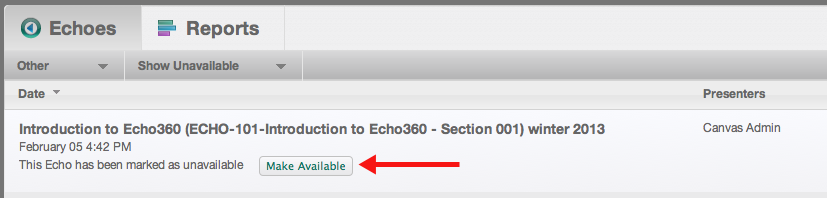
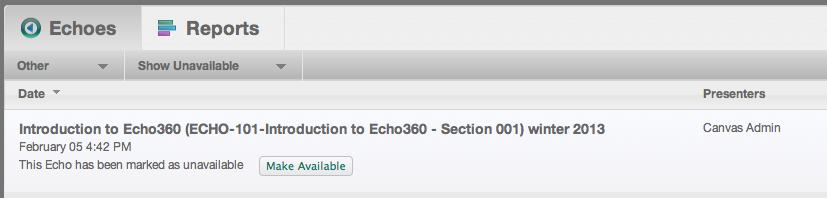
- Notice that all Echoes currently marked as "Unavailable" now appear in the list, shown below.
Make an Echo Available
- Display unavailable Echoes. See Verify that an Echo is Unavailable.
- Click the Make Available button, identified in the below figure, to make the Echo available for students.