...
- Select the recording to be published.
- Review and edit the recording's metadata (the title, date, and time).
- Publish the recording.
| Note | ||
|---|---|---|
| ||
| Publishing time depends on the edits you made, the size of the recording, and network conditions. Once you click Publish, the process of transcoding and publishing the media happens in the background. This means you can close the application; as long as the computer is running (not in "sleep" mode) and there is an active internet connection, these tasks will continue to run until they are complete. More specifically, the publishing process requires an active connection (to upload to the ESS); the transcoding part does not. In the event your internet connection is interrupted during the publishing process, the publishing task will start again when the connection is restored. |
| Anchor | ||||
|---|---|---|---|---|
|
...
- Select the recording to be published:
- In the My Recordings page, select the recording in the list and click Publish Recording.
- From the Edit Recordings page, click Publish Recording.
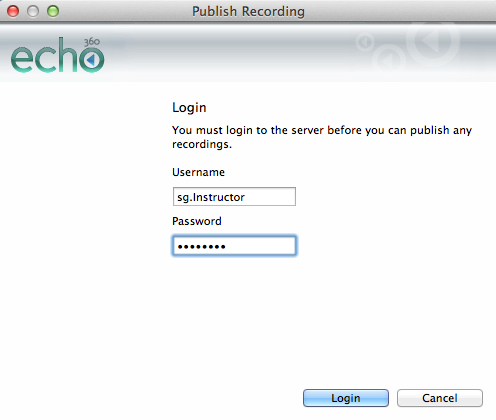
- Log in to the ESS. If you are not able to log in, contact your System Administrator.
- Review the list of sections displayed. You will see only sections that you are associated with.
- Select the section.
- Click Next.
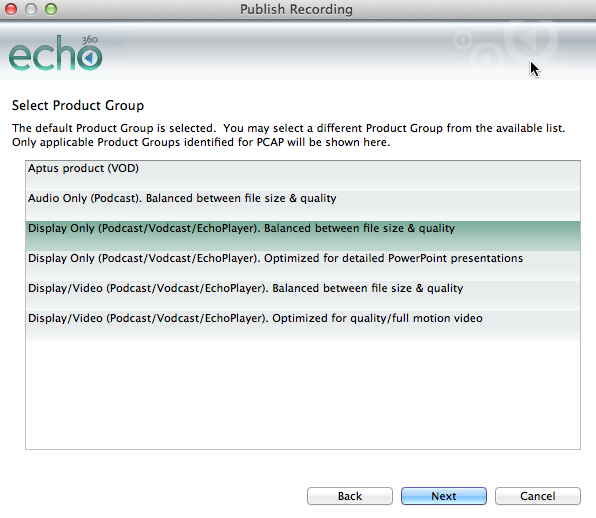
Select the product group.
The product group determines which output products will be supported and what aspects of your recording will be optimized.
When your System Administrator or Scheduler set up recording for your section, s/he specified a default product group.
The default product group is, in most cases, the best choice, but you may want to select a different product group. For example, the default product group may be one that allows only audio and display products. But you have used a web camera to capture video for your recording (this is one of the benefits of Personal Capture). If you used the default product group, you would lose the video. You select a product group that includes audio, video, and display products so that you do not lose the video capture.
Best practice: Choose the default product group then review the Echo. If the display or video seem blurry, or if the audio is unclear, discuss this with your System Administrator. You may want to reprocess the recording with a different product group.
- Click Next.
...
- Click Publish.
Notice that the recording appears in the My Recordings page with a status of Transcode Pending, and then Publishing.
Note title Transcoding and Publishing May Take Some Time Publishing time depends on the edits you made, the size of the recording, and network conditions. Once you click Publish, the process of transcoding and publishing the media happens in the background. This means you can close the application; as long as the computer is running (not in "sleep" mode) and there is an active internet connection, these tasks will continue to run until they are complete. More specifically, the publishing process requires an active connection (to upload to the ESS); the transcoding part does not. In the event your internet connection is interrupted during the publishing process, the publishing task will start again when the connection is restored. - When the upload is complete, the status changes to Published.
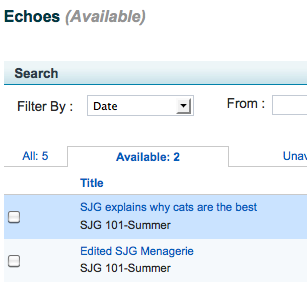
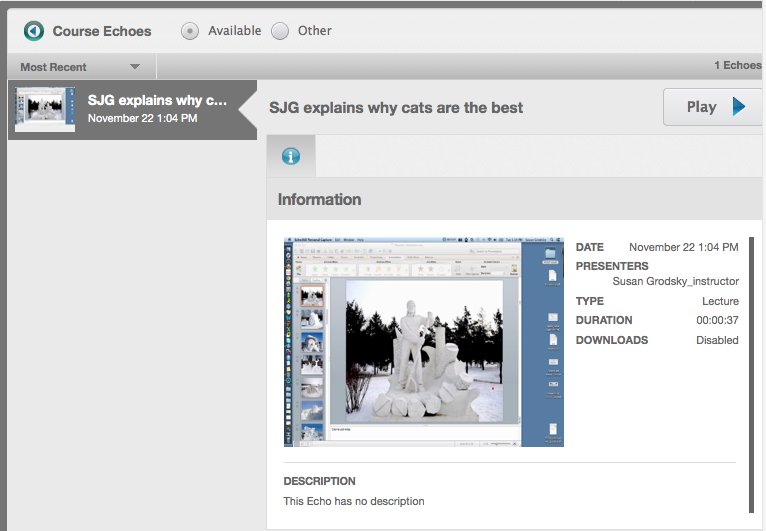
- You can see the published recording in both the ESS and on the EchoCenter page for the section.
- ESS:
- EchoCenter page:
- ESS:


