...
| Info |
|---|
Once the device has been configured it can be reset if needed, through the Administration Menu on the Front Panel Display as well as manually. |
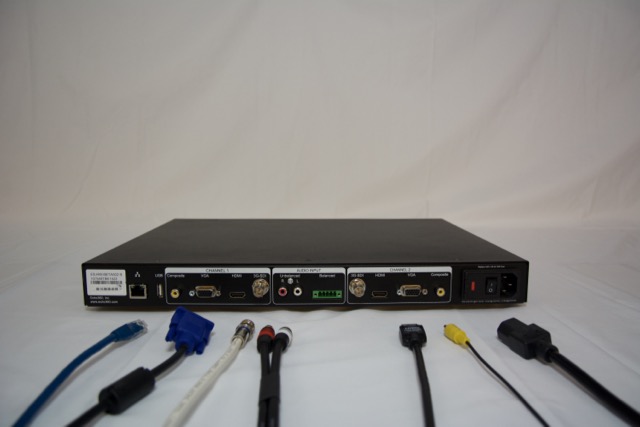
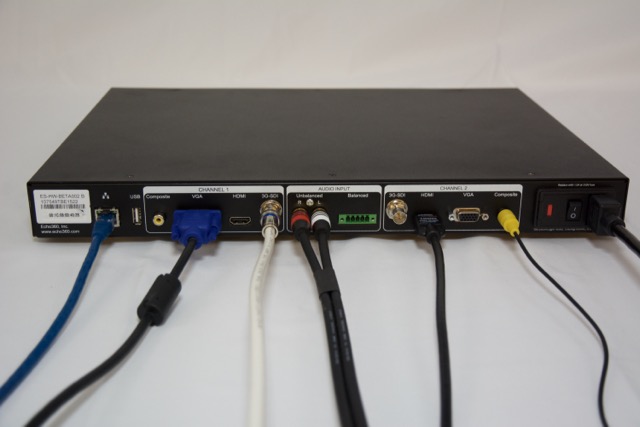
Connect Inputs
Connect the desired input devices/sources to the PRO. For more information on device specifications and supported input sources, see Supported Standards for the Echo360 PRO and Echo360 PRO Product Specifications.
Register the Echo360 PRO
The Echo360 PRO begins communicating with the ESS immediately after installation.
...
- Find the IP address of the appliance.
- Navigate to Configuration > Devices.
- Look for the MAC address. You can also use the Search drop-down lists to shorten the list to just those devices associated with a particular campus, building, or room.
- Hover the the mouse over the device.
- Click the MAC address. The Device Details screen opens.
- In the Device Details screen, copy the Local IP Address.
- Log in to the appliance.
- Open a new browser or tab.
- Type https://<IP address>:8443. For example, you might type https://10.3.10.18:8443.
- Enter your username and password when prompted. These screen shots show the interface for a System Administrator. Other users see different interfaces.
- You should see the Ad Hoc Capture start screen. This shows you have logged into the PRO.
...