...
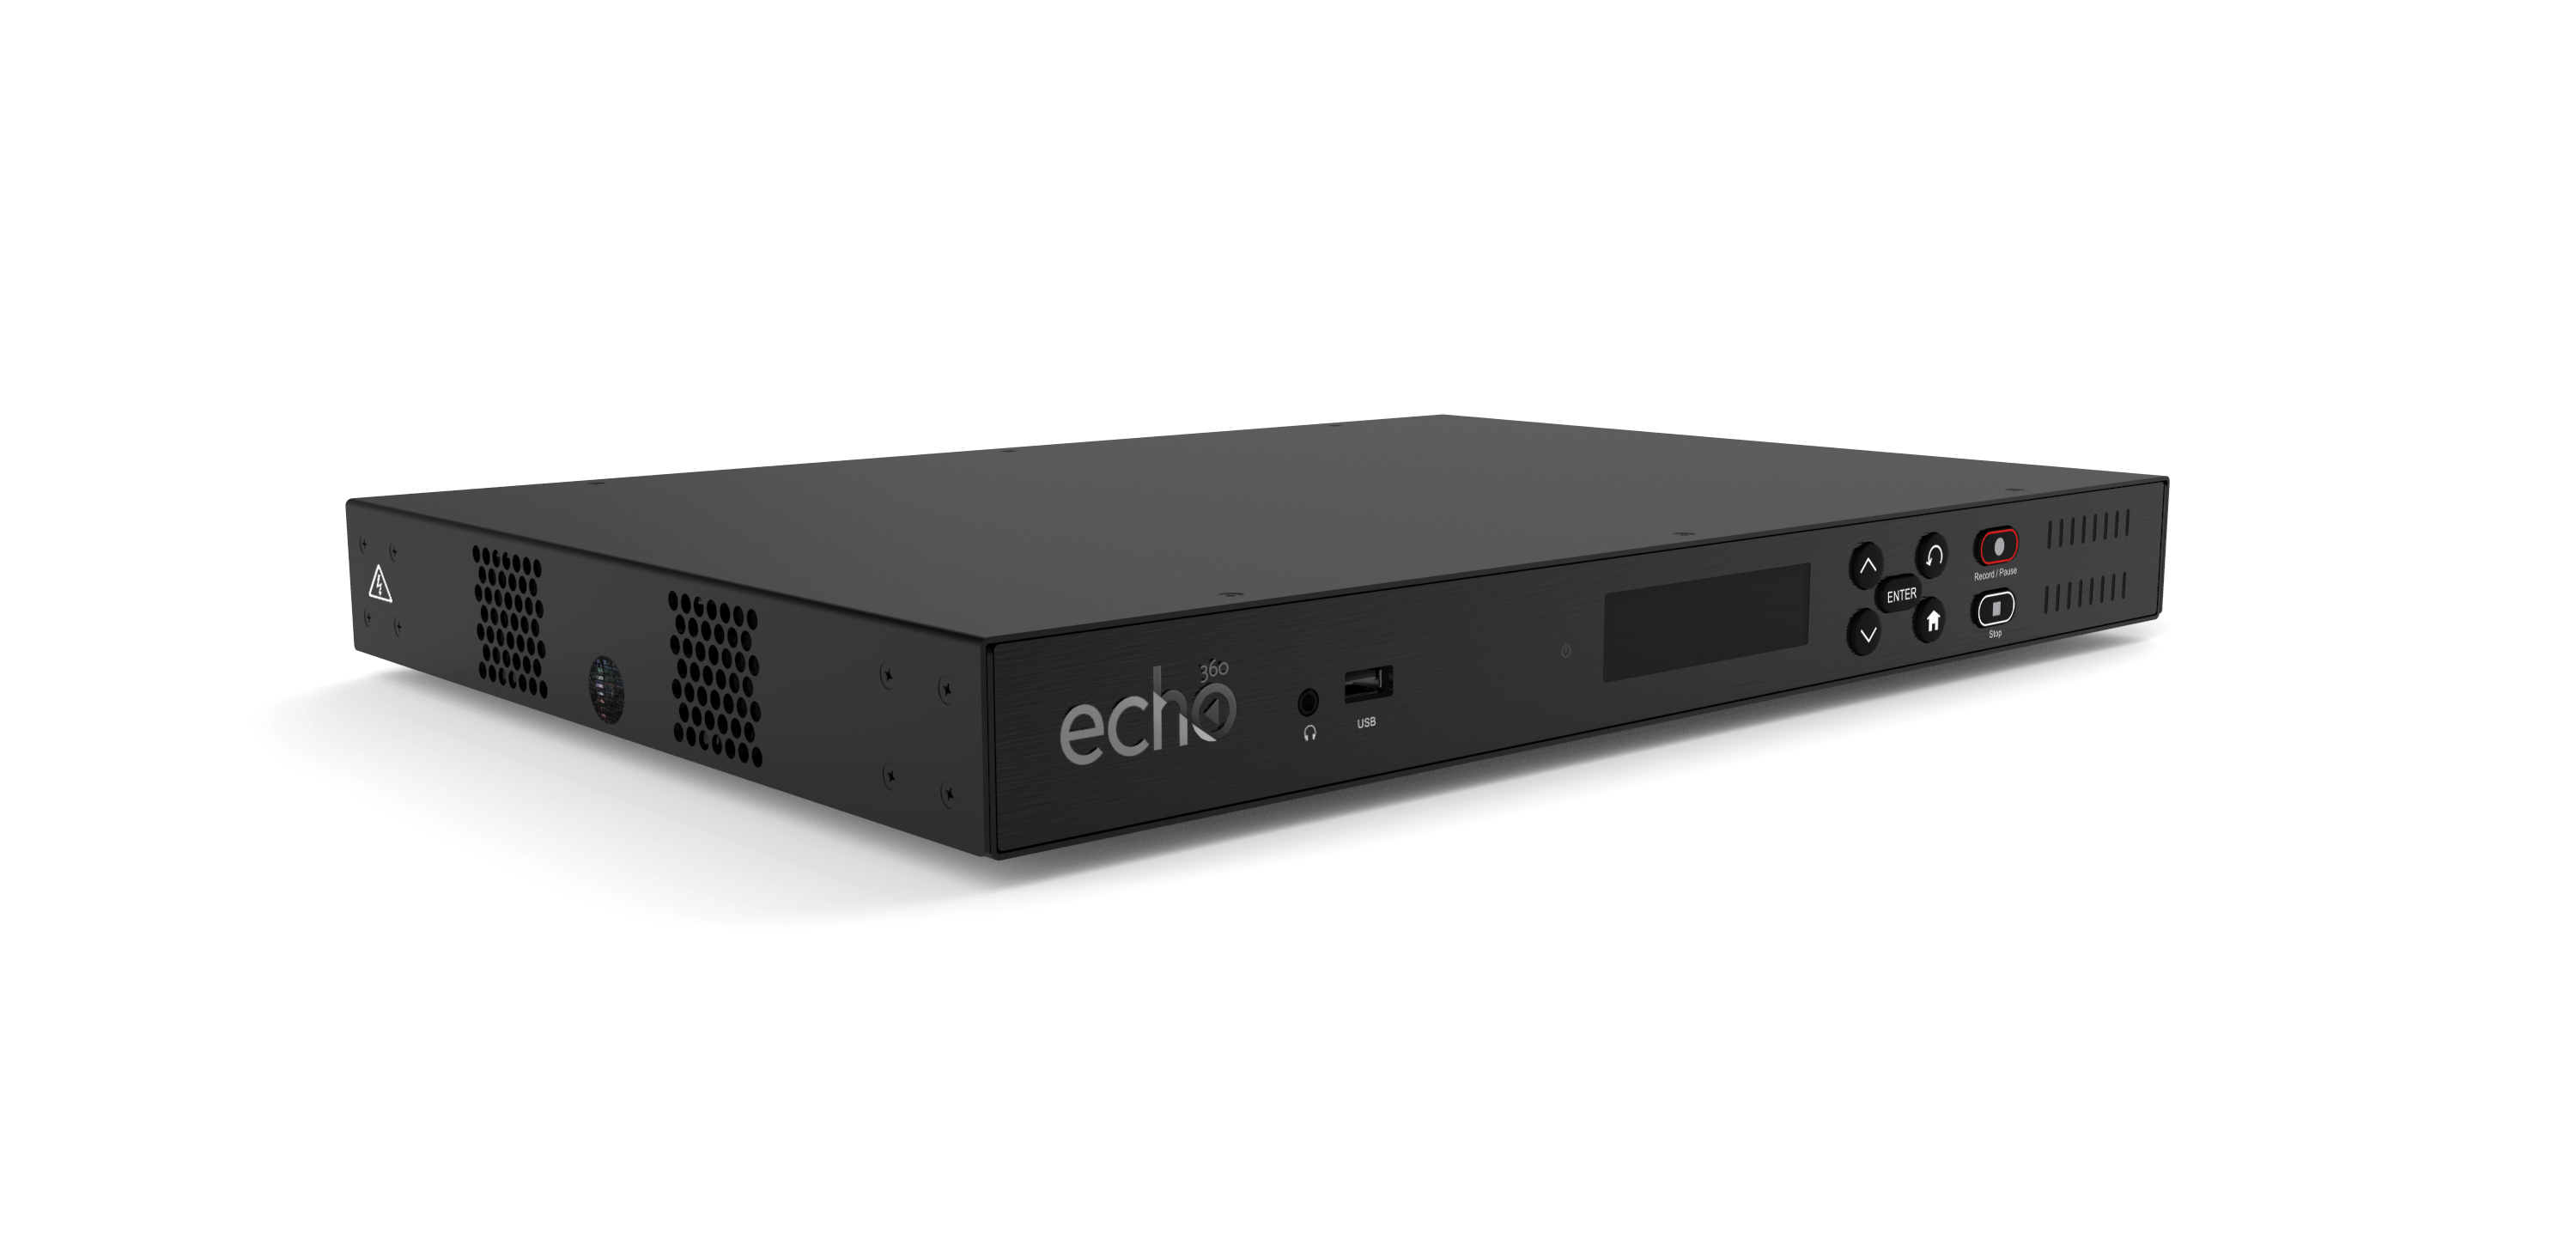
- Echo360 PRO
Click for larger image. - Power cord

Click for larger image. - Two mounting brackets

Click for larger image.
- Echo360 PRO
- Place the PRO where you want it.
- Observe the safety standards that apply to the installation location.
- Choose a room that does not include devices protected by HDCP (High-bandwidth Digital Content Protection) protected devices. The PRO does not record high definition content that is protected by HDCP.
- If required, follow the mounting brackets installation procedures to install mounting brackets.
- Be sure to ground the appliance properly. See Ground the Capture Appliance.
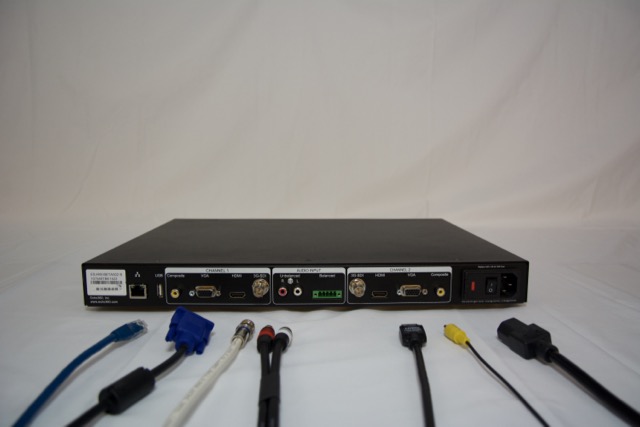
- On the back of the PRO, find the label with the device's MAC address. Write down the MAC address. You will need this information when you register the device.
- Connect the power cord to the PRO and a wall outlet.
- Connect the PRO to the network.
- If you are using RCA connectors, insert them. If you are using the audio bare wire block, see the Audio Bare Wire Block Diagram for the Echo360 PRO.
- Connect the video and/or display devices to either of the input channels (labeled Channel 1 and Channel 2). For supported inputs, please see our product specifications.
- Turn on the PRO.
- Continue with configuring the Echo360 PRO.